There is a huge variety of crafting material that you can use while crafting your cosplay. As I had no idea how to start years ago, after reading all the references and the tips about HOW TO build your first cosplay, I’ve decided to start from Foam.
Foam comes in different thicknesses, colors, and textures. Some of them are changing the shape when you hit them up, some of them not. I usually use 3mm Eva Foam (yoga mat) that is super flexible and can slightly change the shape after you heat it up. Eva foam is the cheapest option, that you can use while crafting.
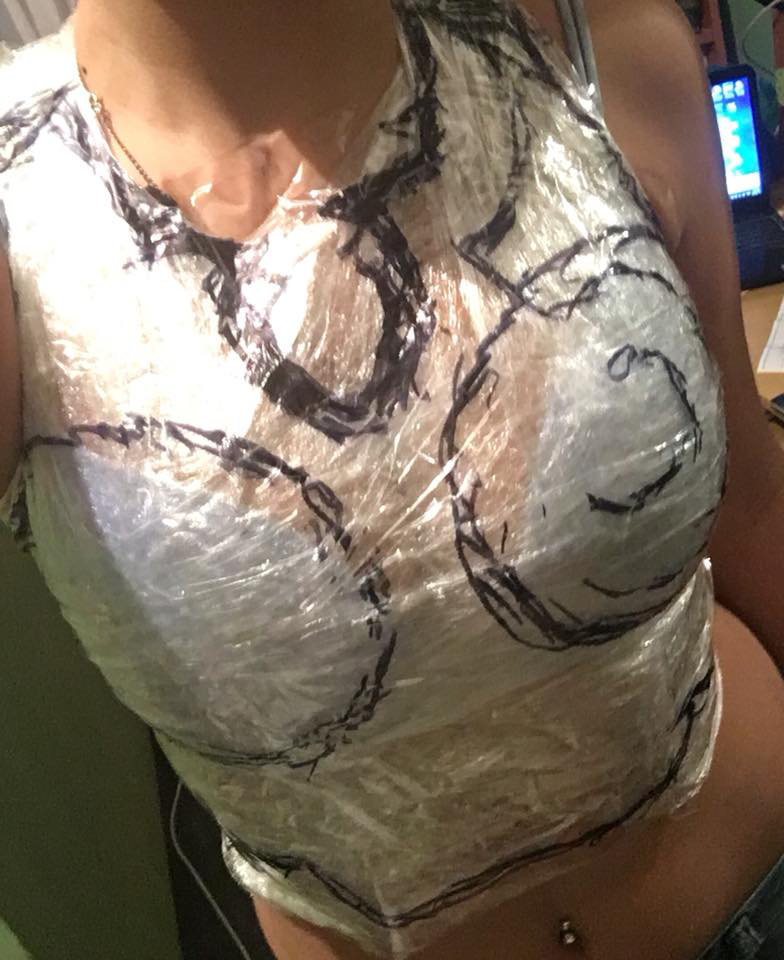
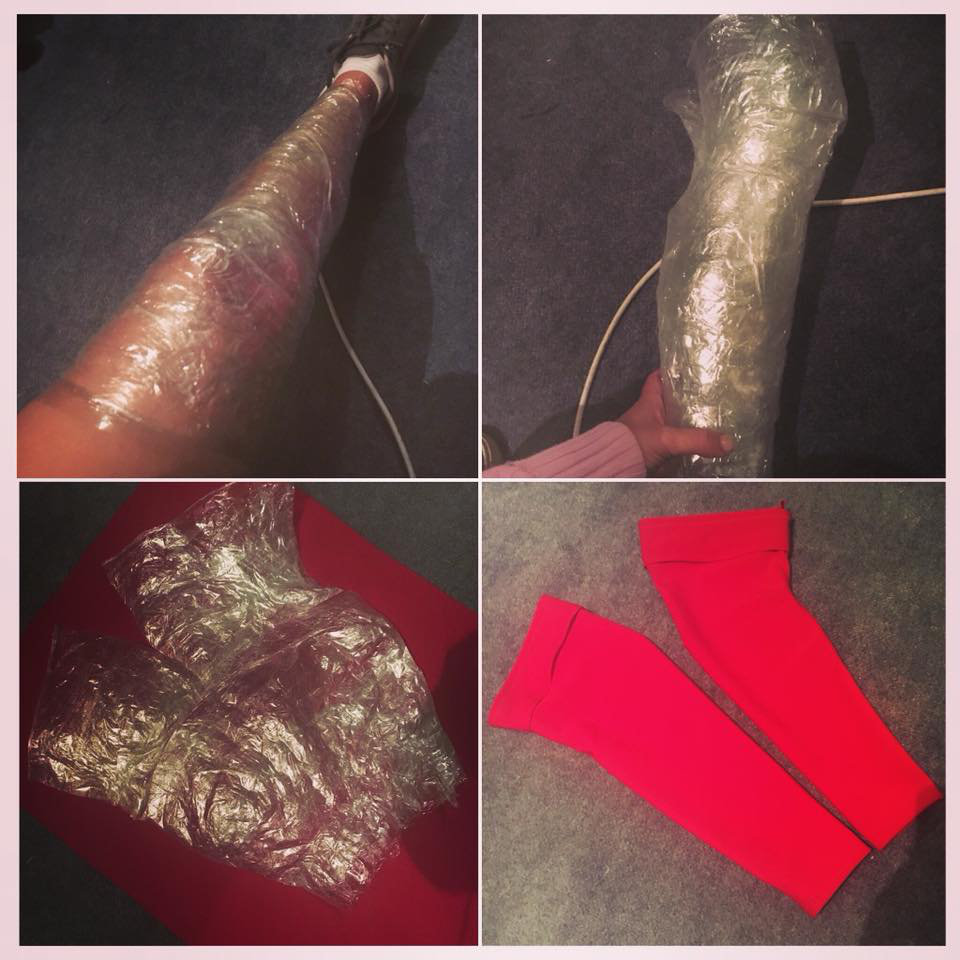
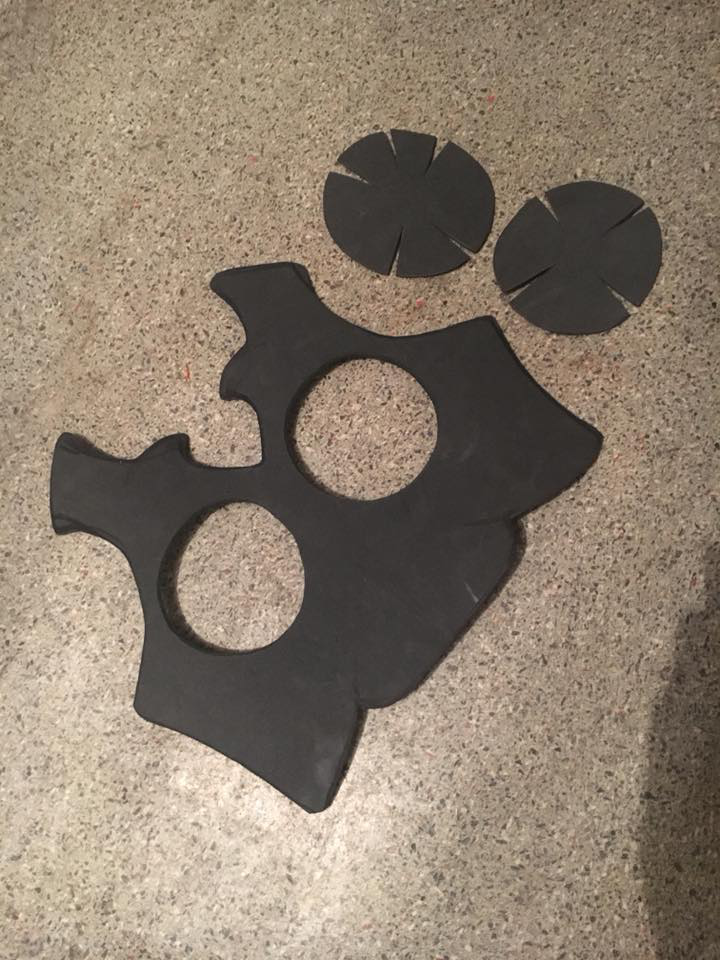
First I make the template by wrapping my body parts using the cling wrap. All you need to do is to wrap yourself with cling wrap, then add the layers of the tape over the cling wrap, draw out the shape, release yourself using scissors and cut out the necessary template. You will probably have the convex areas on your template, just trim them like shown in the picture and trace the template on foam.
 Eva foam is lightweight and its comfortable to wear. Use the cement glue on the facing side and secure the bounds using the hot glue gun from inside, as it’s not sandable and it is pretty visible.
For the bigger details, I use the floor mat, the sick one. You can sand the EVA foam with a rotary tool, or if you don’t have the rotary tool, you can sand it with a sanding paper, however sanding the foam with sanding paper takes a lot more time and effort than sanding it with a magic rotary tool.

Eva foam has some pores. In order to close down them, you need to hit a little bit up your detail.
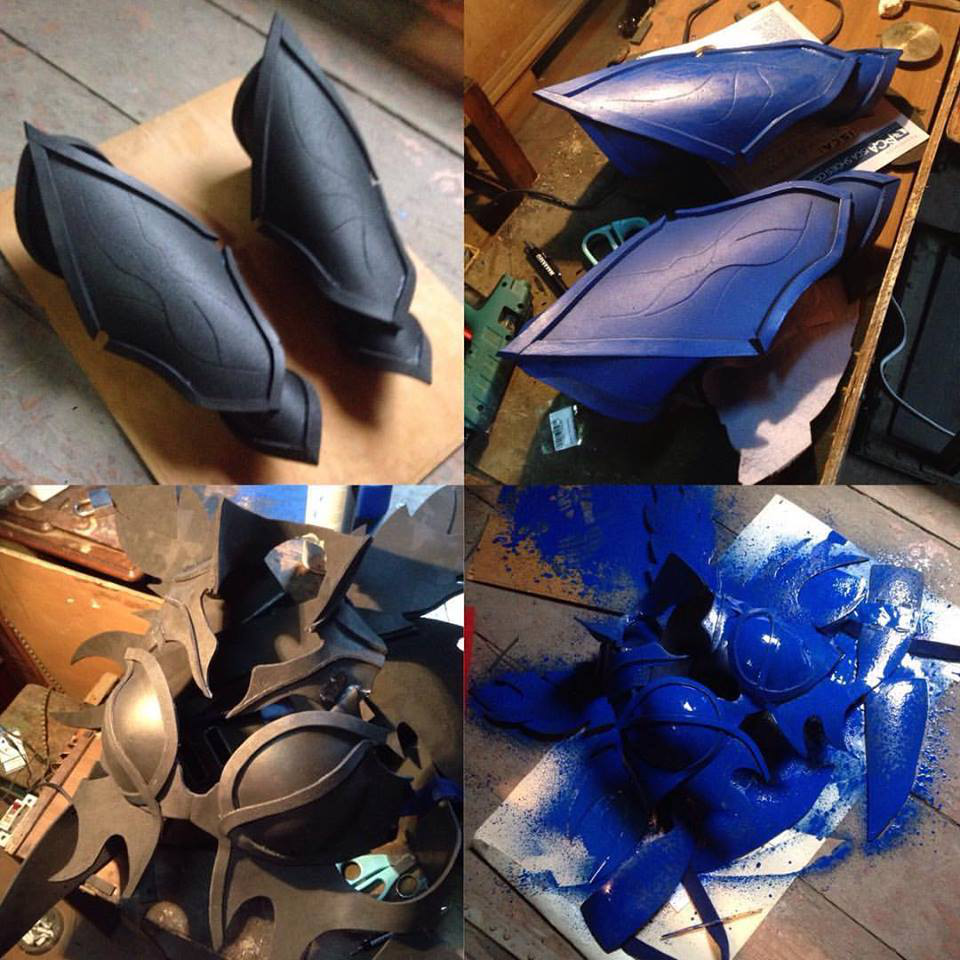
After you are done working on foam, your armor piece is ready for paint. Never paint the foam without the primer, as the foam has a sponge “habits” it consumes most of your paint and makes your armor look awkward. You can use the Rustoleum Primer for the nice matte look, or Plasti Dip for a shiny plastic look. After applying multiple layers of the primer, you are ready to paint it with acrylic paint.
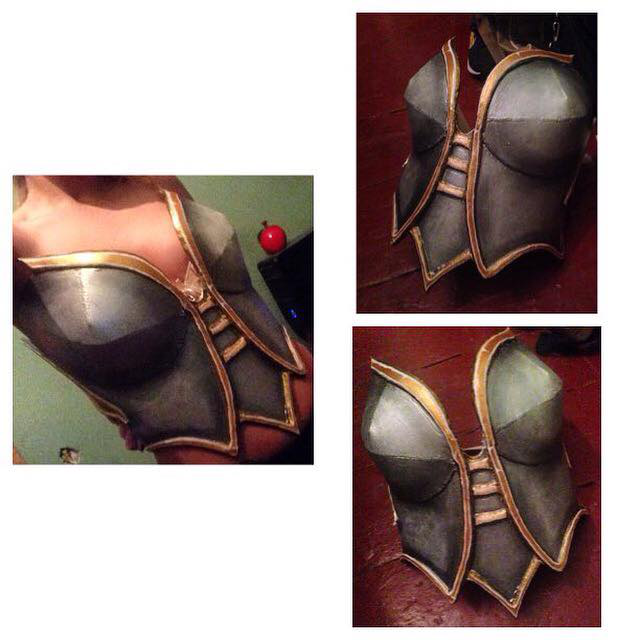
For the more realistic look, don’t forget to add the shadows and the highlights, or maybe the battle damages. You are all set – your Foam armor is ready.